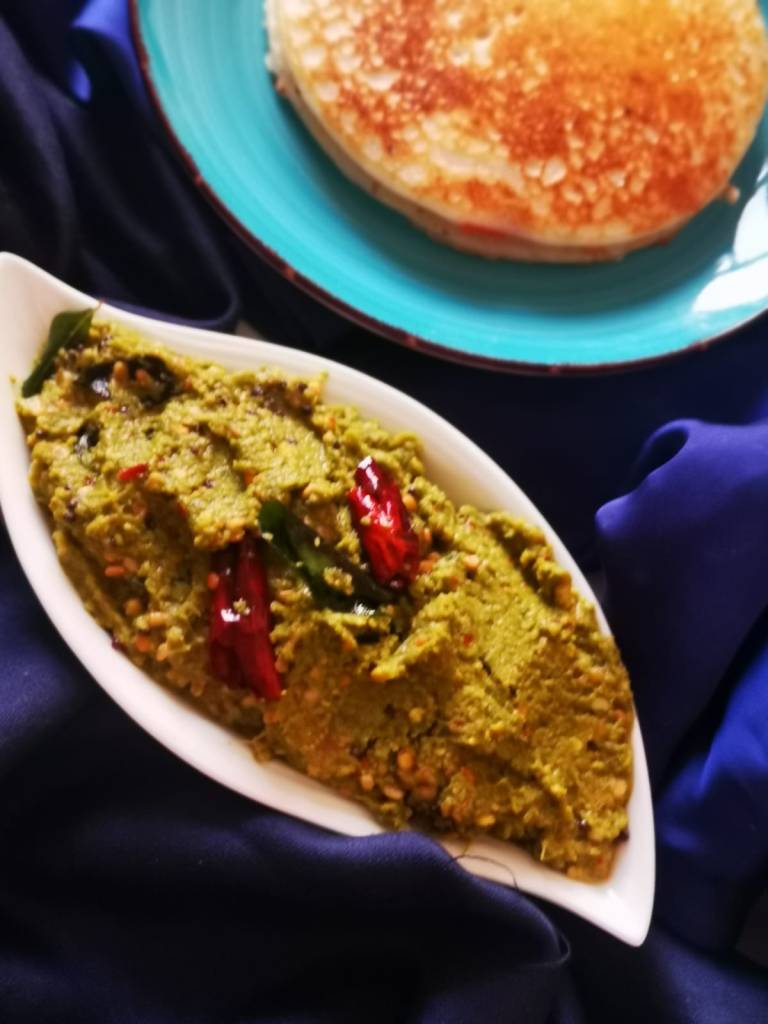
This is a bread dish from the north of India, made with the dough of whole wheat flour stuffed with a spicy potato stuffing. It is best enjoyed with yogurt, pickle and butter.

Boil potatoes 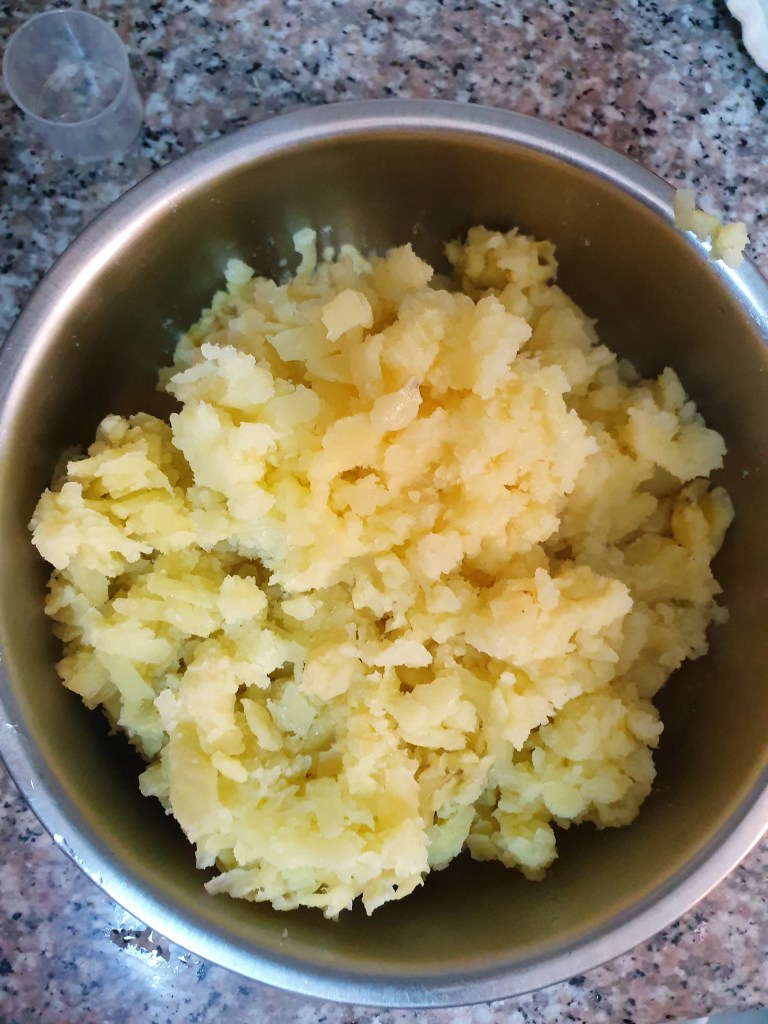
Mash them well 
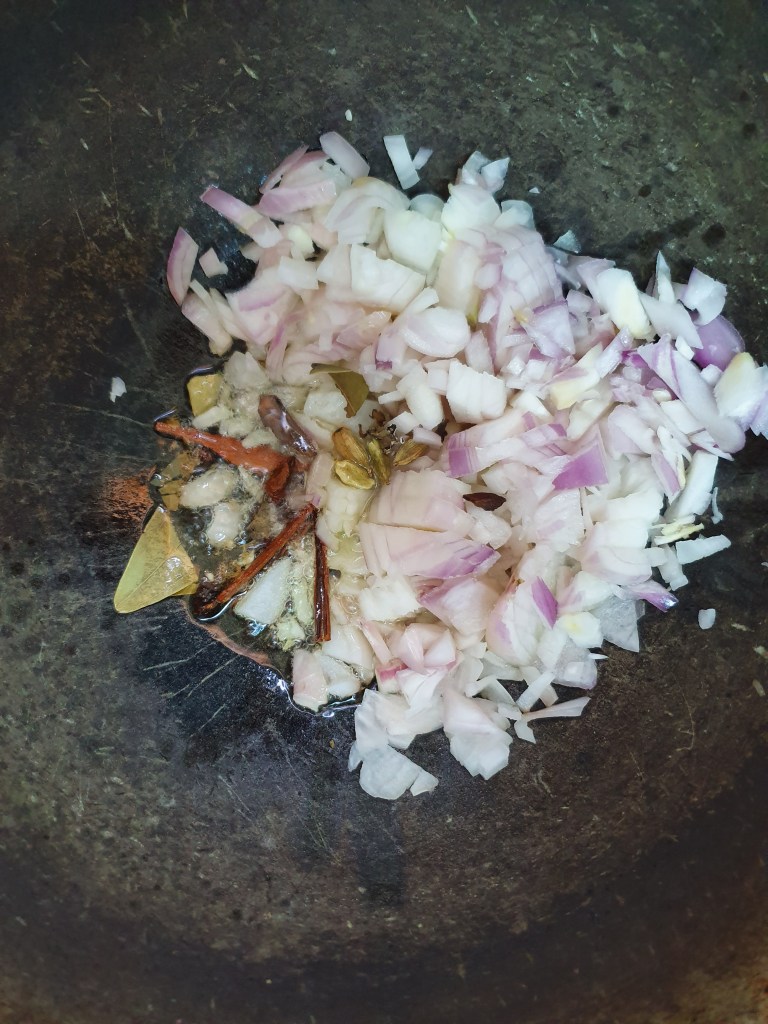
Finely chop onions and green chillies 
Add the powders and chillie flakes 
Mix the potatoes, onions, chillies and coriander leaves 
Make a flour dough 
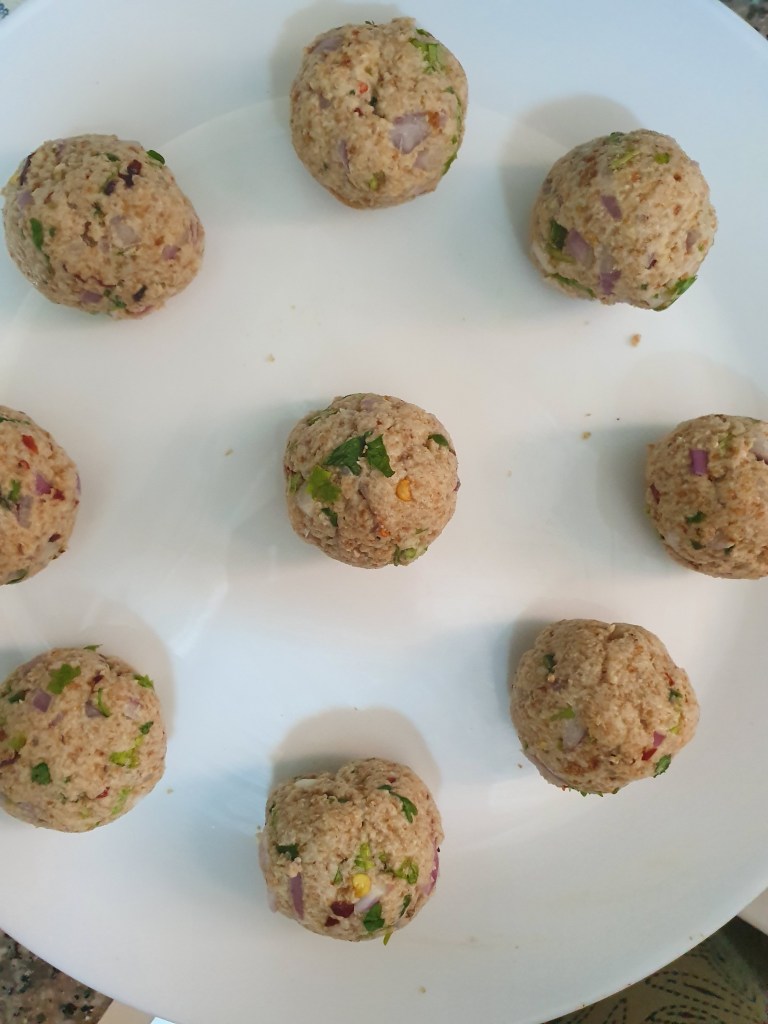
Divide them into equal sized balls 
Faltten a ball 
Stuff some potato mixture into it 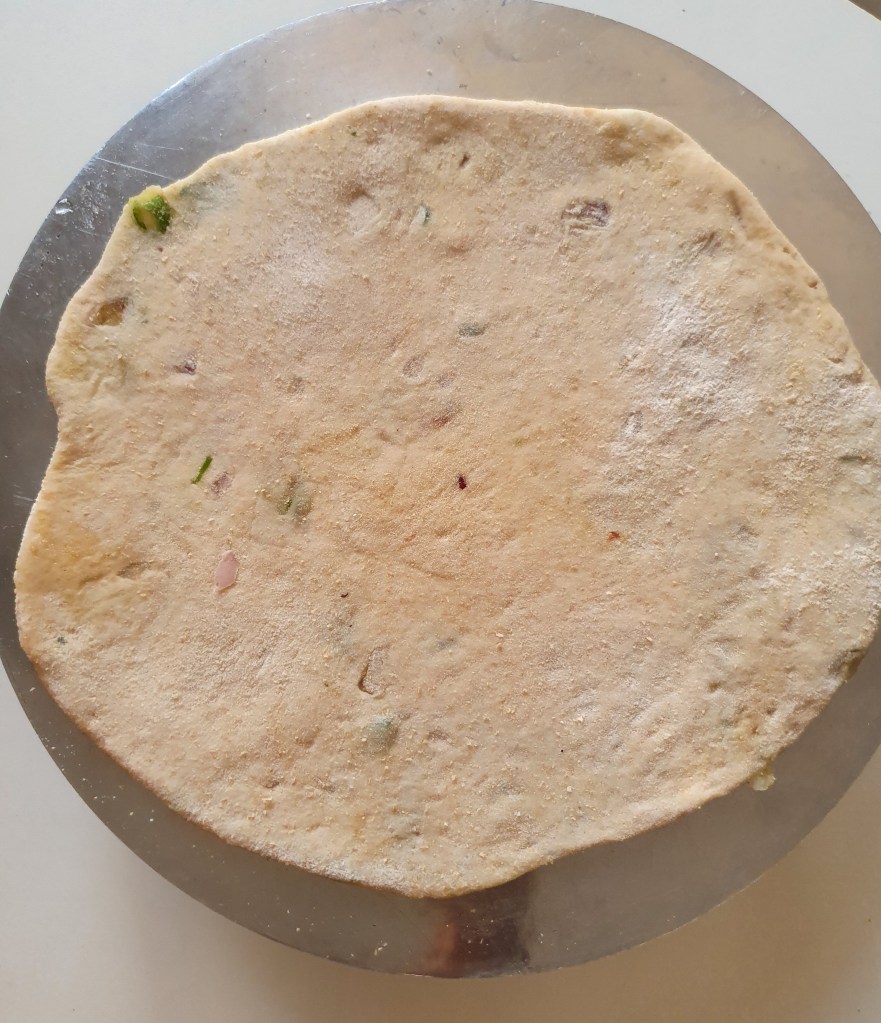
Gently press the ball and roll it out 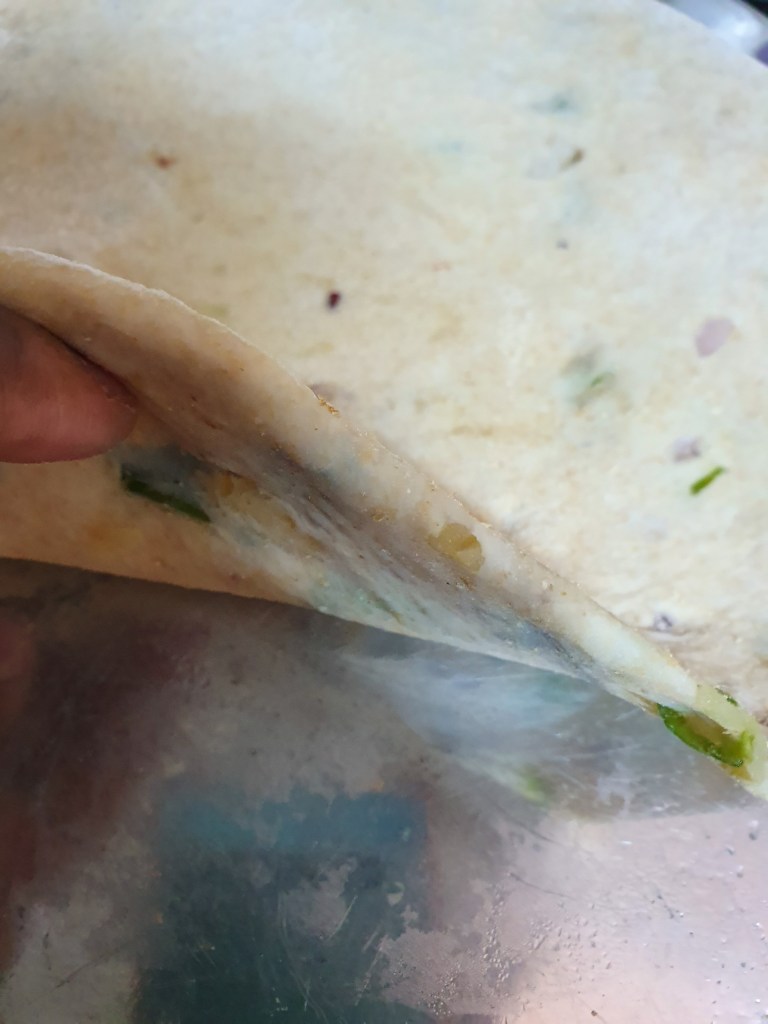
The parathas should be atleast 2 to 3 inches thick.
Ingredients:
Potatoes – 4 big
Onion – 1 big finely chopped
Green chillies – 4 finely chopped
Cumin powder/Jeera powder – 1/2 tsp
Coriander powder – 1/2 tsp
Salt as needed
Coriander Leaves – 1 tbsp chopped
Red chillie flakes – 1/2 tsp
Oil/Ghee for cooking – As required
For dough:
Wheat flour – 2 cups
Salt – to taste
Water – 1/2 cup
Preparation:
Boil the potatoes well and grate it so that there are no lumps in it. You may also mash it well making sure there are no lumps.
In a mixing bowl, add the grated potatoes, chopped green chillies, coriander leaves, red chillie flakes, chopped onion, coriander powder, jeera powder, salt and mix well. Keep it aside.
In another bowl, add the wheat flour, salt. Add water gradually and knead the dough. The dough should be pliable and soft. Rest the dough for 10 minutes.
Make small-medium balls of the dough and roll them out into 3 inch circles. Add a spoonful of potato filling in the centre and seal it with little oil. Gradually press the rolling pin on all sides while making the parathas. Be very careful to apply pressure evenly. It is very important to ensure that your potato mixture is mashed well and not lumpy or you will never be able to make perfect parathas. Seal the dough and round it with your fingers. Now roll them with a rolling pin into round parathas. Apply the pressure very evenly and gently on all sides. Press very lightly so that the mixture does not come out.
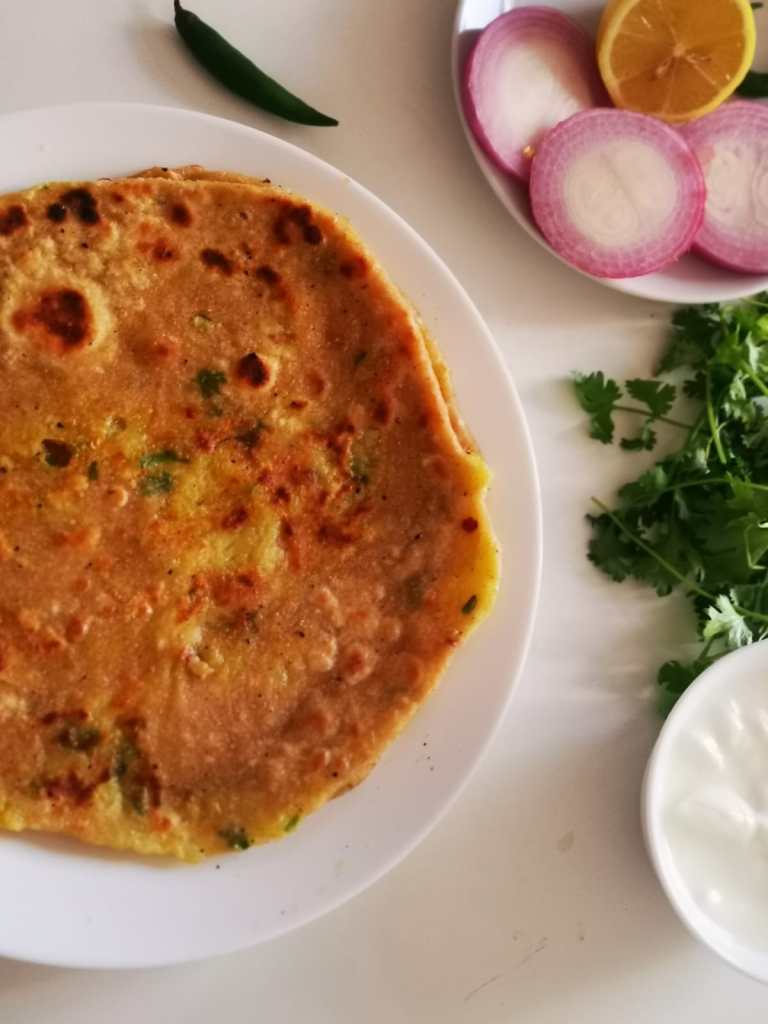
Heat an iron tawa and roast the parathas, cooking them on both the sides with a spoonful of ghee/oil. If you want to use less ghee/oil on the parathas, first roast them on both the sides on low flame and when they are slightly crispy, apply ghee/oil with a kitchen brush on both the sides. You must keep the flame low.
Serve hot with pickle, onions and curds .