This easy and delicious mango tart can be assembled in a jiffy. When mangoes are in season, make the most of it. Try making this gorgeous tart and impress your guests.
Ingredients:
For Custard:
Milk – ½ litre + ¼ cup milk
Custard powder – 3 tbsp
Powdered sugar – 4 tbsp
For the tart shell:
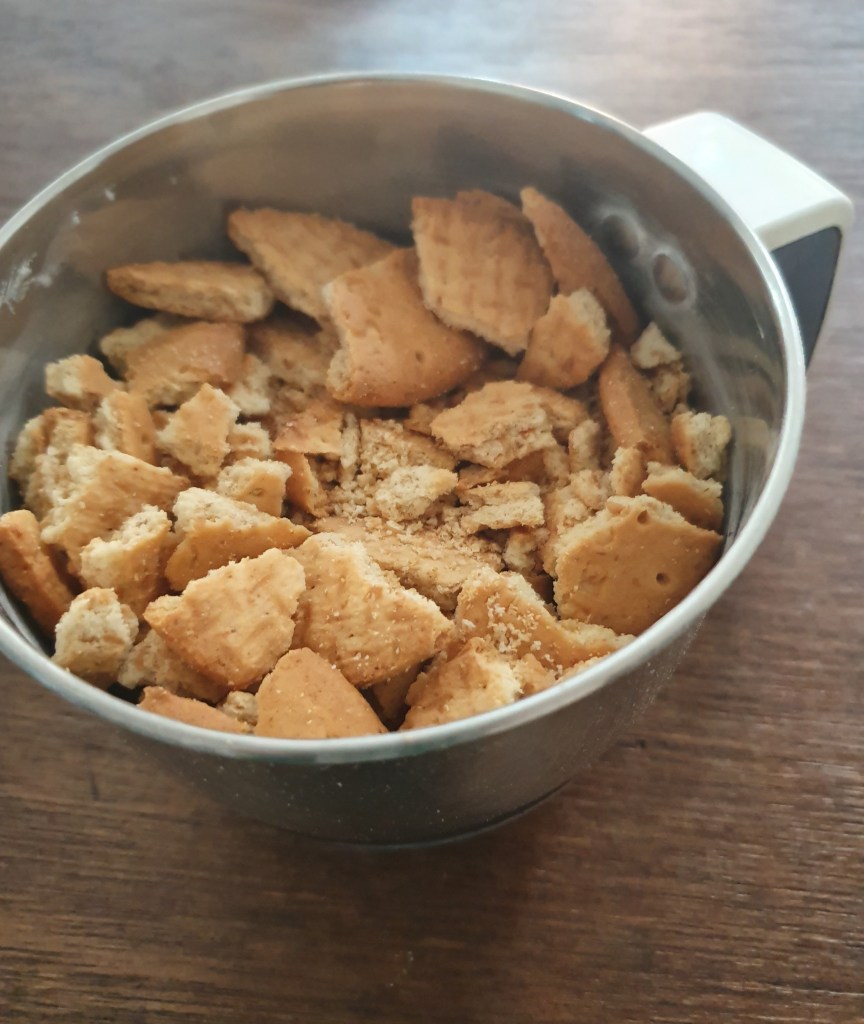
Biscuit crumbs (digestive or any other biscuit) – 2 cups
Melted butter – 1 cup
For garnish:
Pistachio powder – 2 tbsp
Mangoes sliced – 4 (sliced thinly)
Preparation:
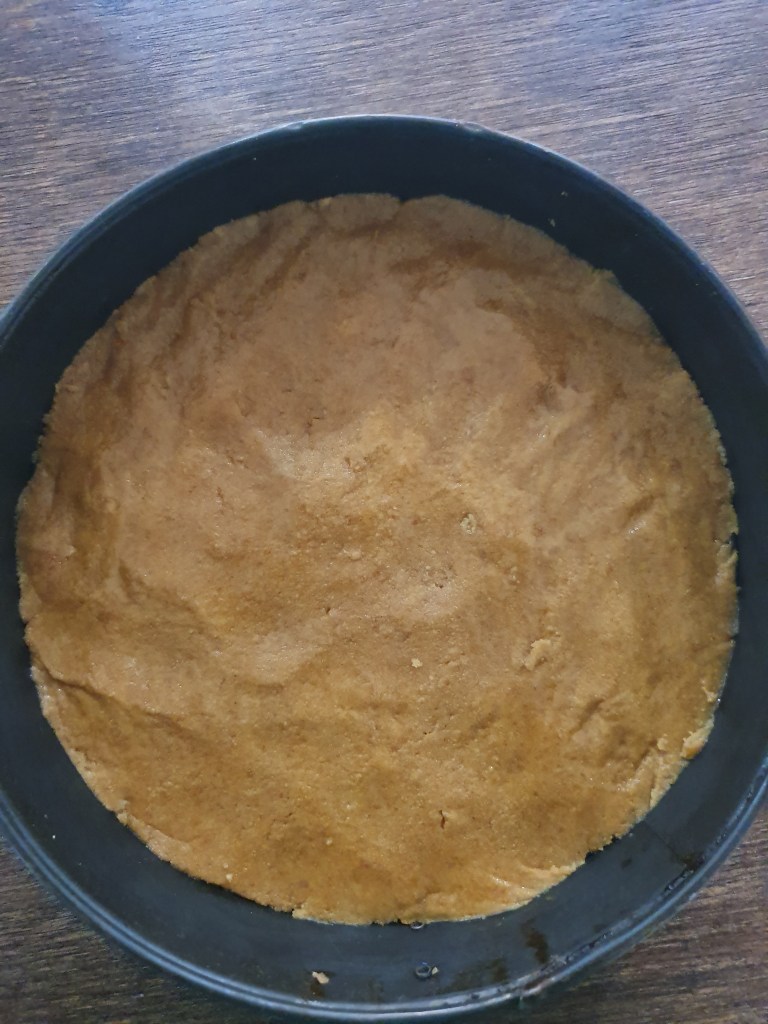
First, powder the biscuit in a mixer jar or blender. Add the melted butter to it and mix well. Take a tart pan or a detachable cake pan and grease it with butter slightly. Add the biscuit crumb mixture to it and spread it evenly around the pan. Place the pan in the fridge for 30 minutes till it sets.
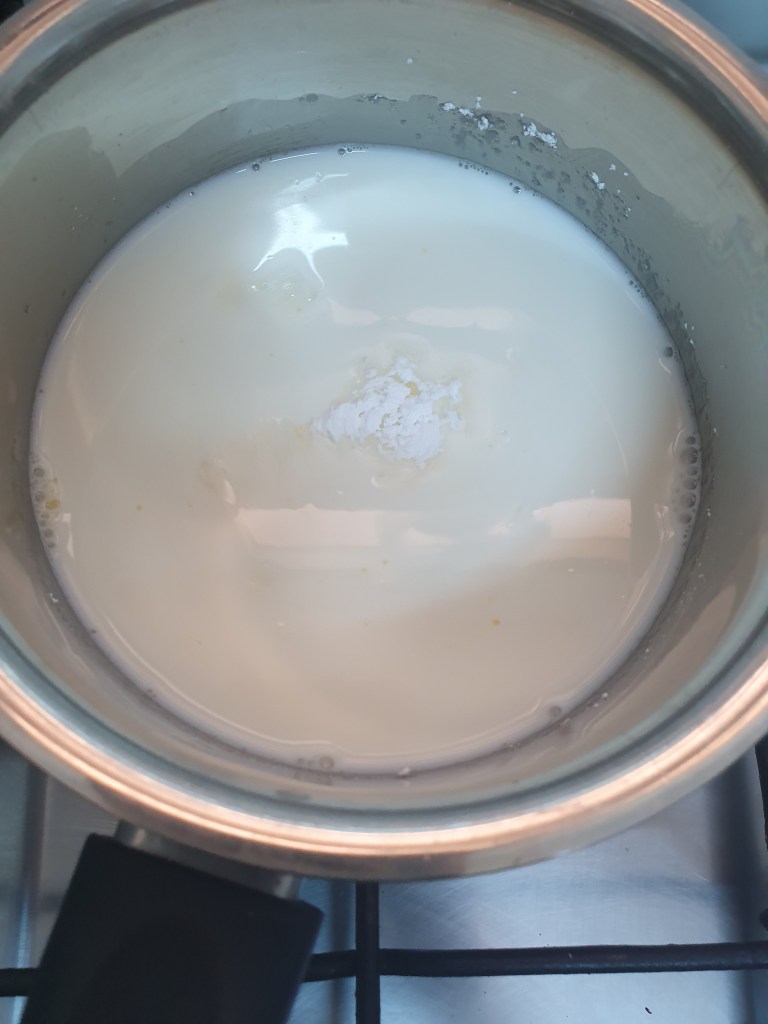
Meanwhile, take a cup and add the custard powder to it. Add ¼ cup of warm (not hot) milk to it and mix it well. Put the ½ litre of milk to boil. Reduce the flame to minimum when it starts to boil. Add the powdered sugar and mix well. Next, add the custard powder and milk mixture to it and keep stirring it to avoid forming lumps. When the mixture becomes semi-solid, remove it from the flame. Cover it with a cling foil and keep it in fridge for about 20 – 30 minutes.
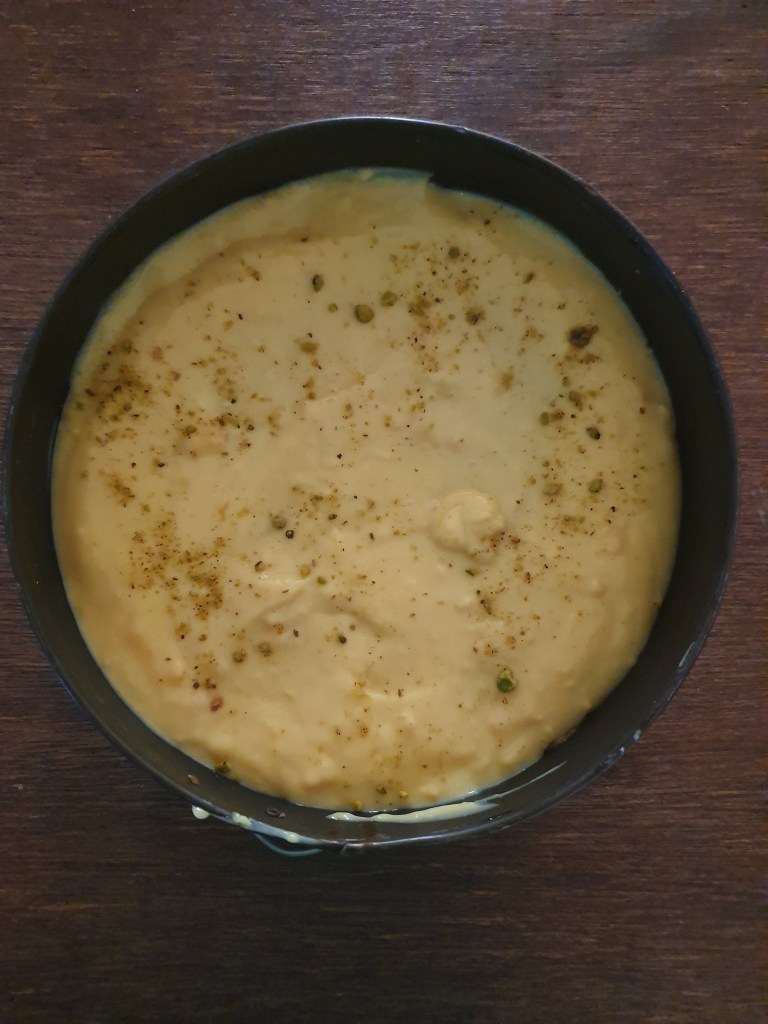
Take out the custard mix and spread it evenly in the tart pan or cake pan. Keep it in the fridge for an hour or two and when set, garnish it with pistachio powder and mango slices.
I love anything with pineapples! These easy to make souffles just melt into the mouth and the combination of fresh pineapples with fresh cream, melts your heart too..
Makes 6 cups/servings
Ingredients:
Pineapple slices (chopped into small bits) – 6
Condensed milk – 1 tin
Milk- 1 1/2 cups
Fresh cream – 1 1/4 cups
Gelatin powder – 2 1/2 tbsp
Pineapple essence – 2 drops
Pineapple jelly – 1 sachet (if not using gelatin)
Warm water – 1/2 cup
Lime – 1/2
Cherries – 6 (for garnish)
Preparation:
In a pan, add 2 tsp of sugar and heat it. Add the chopped pineapple pieces to it and stir until it cooks and starts slightly to caramelise. Remove when the moisture dries up. Cool it and keep it aside.
Whip the cold cream until light and fluffy, preferably using an electric beater. Keep chilled. Soak gelatin in little warm water. Add 1/2 cup of water and pineapple essence and when it starts to boil, add the dissolved gelatin and keep stirring to avoid lumps. Keep it aside. If using pineapple jelly, prepare jelly as per instructions on the packet and refrigerate it for 1-2 hours. Cut it into any shape as desired.
Add condensed milk, milk, chopped pineapple and lemon juice into the whipped fresh cream mixture. Add the dissolved gelatin or the jelly and mix well.
Pour the mixture into a wet soufflé dish or individual bowls and chill for 1 – 2 hours. Once set, decorate with cherries and serve chilled.
When my walking mate Kala gave me this perfectly spiced cake, I instantly liked the taste and the moist texture. She was gracious enough to give the recipe to me. Moist and delicate with a hint of pumpkin, spices and orange flavour, it tastes delicious even without the cream cheese frosting. You can add any nuts like pistachois or walnuts into the batter. I have not added any nuts in the cake except for decorating it on top.
Ingredients:
All Purpose Flour/Maida – 2 cups
Granulated Sugar – 1 1/2 cups
Chopped Pistachois – 2 tbsp (optional)
Eggs ( room temperature) – 3
Oil -1 cup (vegetable or corn oil)
Vanilla essence – 1 tsp
Nutmug powder – less than 1/4 tsp
Cinnamon powder – 2 tsp
Dried Ginger powder – 1/2 tsp
Dried Orange Peel Powder – 1/4 cup
Salt – a pinch
Baking powder – 2 tsp
Soda bi-carbonate – 1 tsp
Pumpkin Puree – 1 3/4 cup
Preparation:
Preheat the oven to 170 C /350 F and grease a circular 9 x 13 non stick baking pan with a brush. Dust some flour into the pan so that the cake comes off easily after baking. (Optionally, you may line the pan with parchment paper).
Dice roughly about 1/4 of a medium pumpkin and steam it in a steamer. Grind it in a mixie to a puree. Measure 1 3/4 cups and keep it aside. (Or you may use a store bought pumpkin puree can).
First, mix the dry ingredients. In a bowl, add the flour, baking powder, baking soda, salt, cinnamon powder, nutmeg powder, dried ginger powder together in a large bowl. Whisk it and set aside.
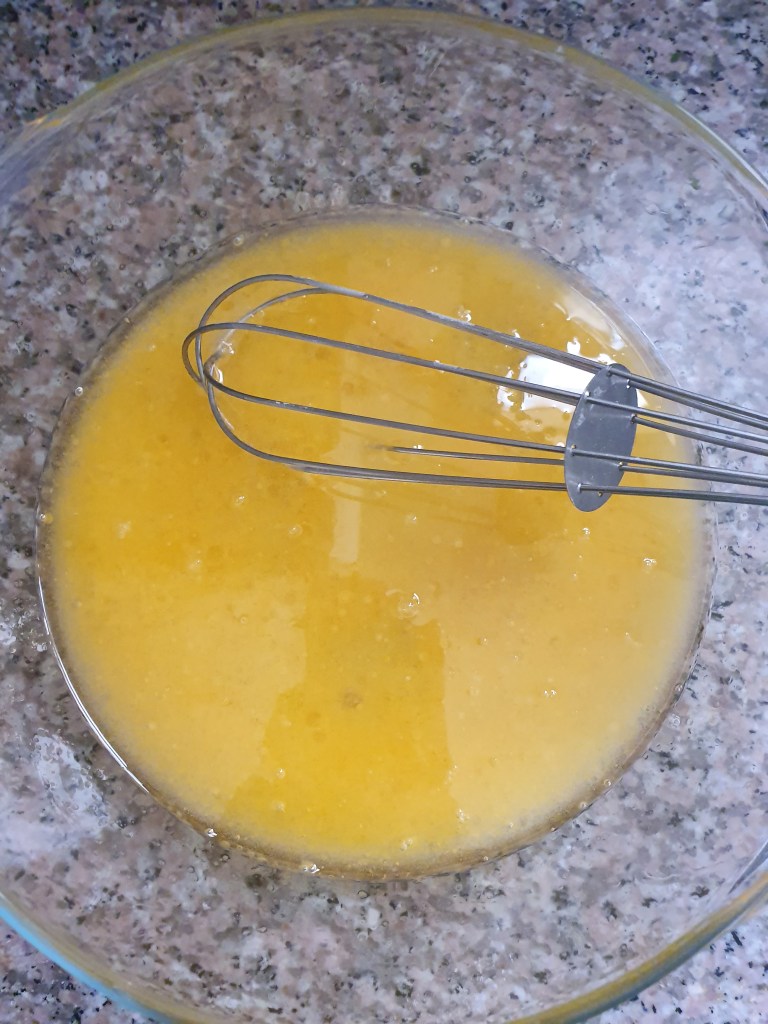
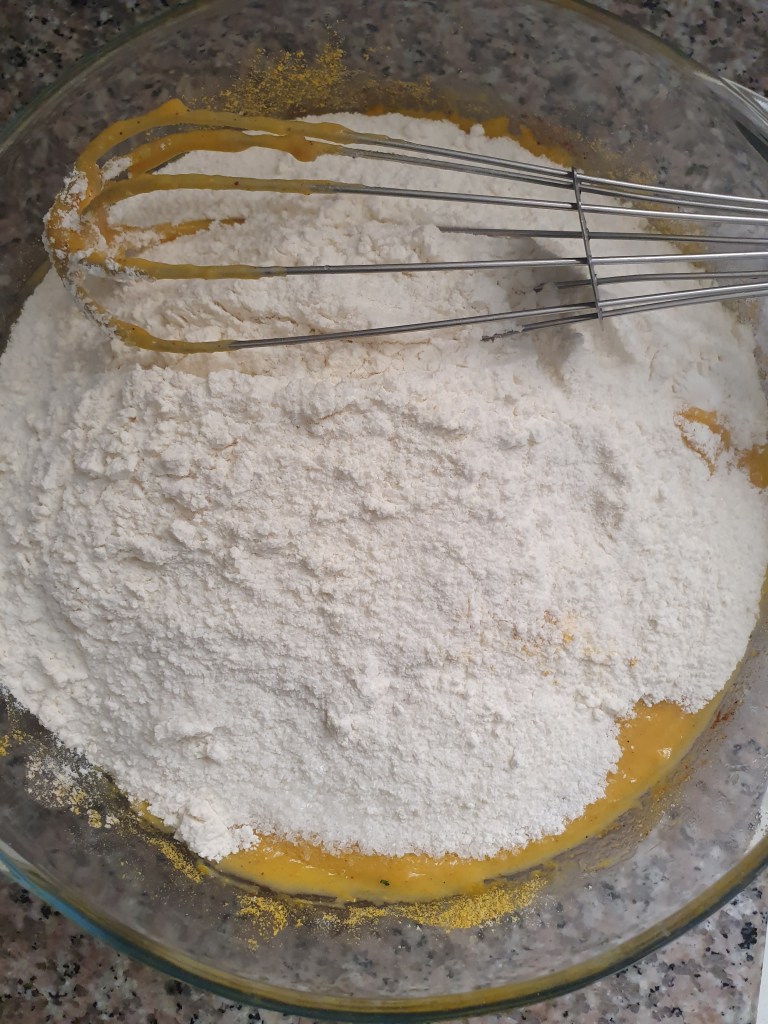
Next, mix the wet ingredients. In another bowl, whisk the oil, eggs and granulated sugar. Add the pumpkin puree, dried orange peel powder and vanilla essence together until combined. Pour the dry ingredients into the wet ingredients and use a mixer or whisk until completely combined. Batter will be slightly thick. In case the batter is too thick, you may add 2 tbsps of milk.
Pour the batter into the prepared pan. Bake it for 35-40 minutes. The baking time may vary slightly in different ovens. The cake is done when a toothpick inserted in the center comes out clean.
Remove the cake from the oven and set the pan on a wire rack. Allow to cool completely. You can dust the cake with powdered sugar and chopped pistachois. I prefer this to the cream cheese frosting.
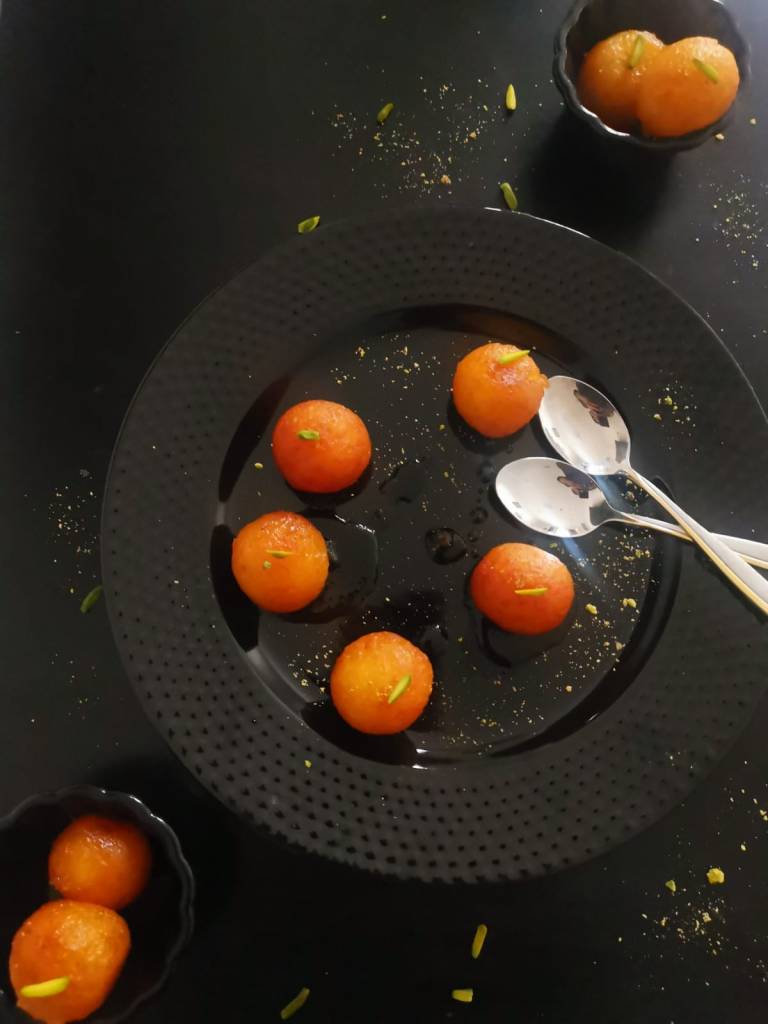
Gulab jamuns made from home made khoa are my mom’s speciality. She makes amazing soft gulab jamuns made from milk solids which is made by boiling the milk for a long time and then, condensing the full fat milk.
Though there are many new versions of preparing gulab jjamuns using milk powder, sweet potato, semolina etc, nothing compares to the taste of these luxurious soft and rich gulab jamuns made from khoa or milk solids.
You can buy readymade khoa/mawa/milk solids from shops or from the frozen section of supermarkets.
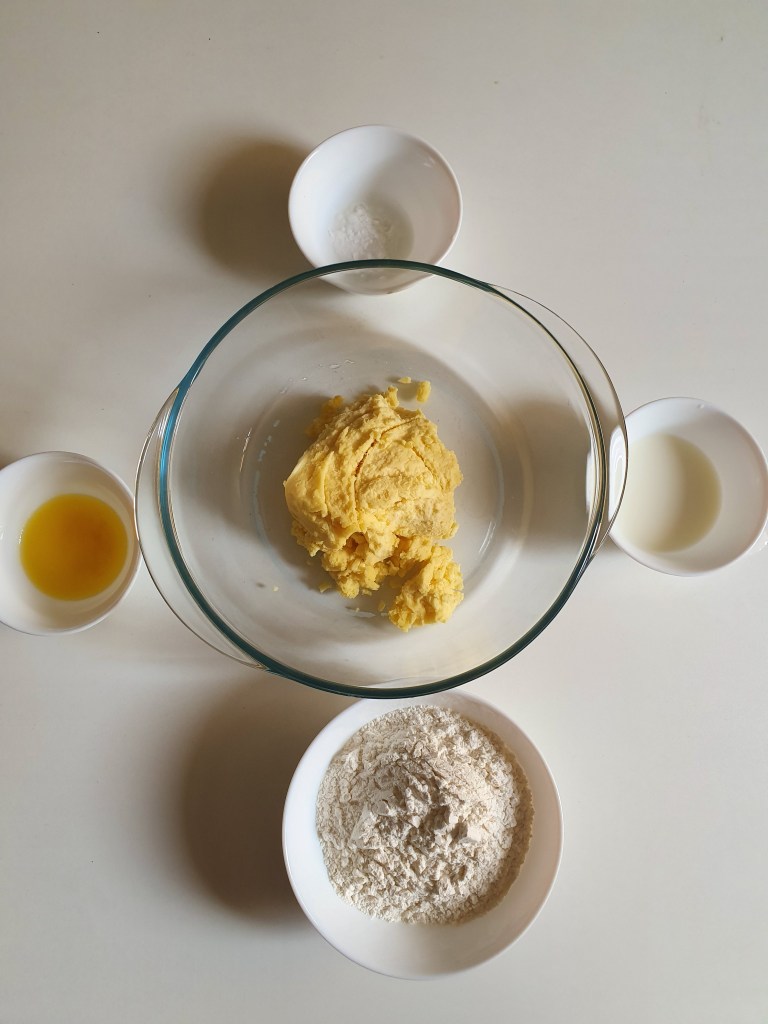
Khoa, milk, soda bi carbonate, all purpose flour, ghee
Mix the khoa throughly.
Add maida/all purpose flour
Add bi-carbonate of soda
Next, add ghee
Add milk
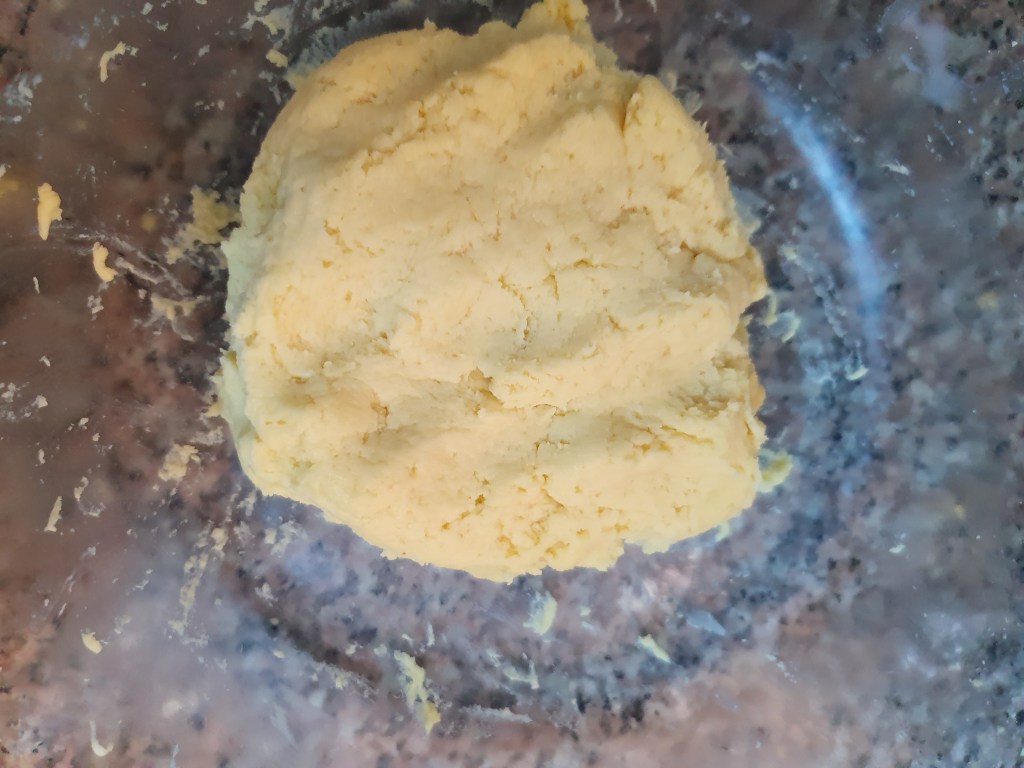
Knead it into a soft dough
Roll it into smooth small balls
Fry the balls on low heat
Ingredients:
Store bought khoa/mawa – 1/2 kg
Maida/All purpose flour – 2 cups
Melted Ghee – 2 tsp
Milk – 3 tbsp
Soda -Bicarbonate – 1/2 tsp
For Syrup
Sugar – 3 cups
Water – 1 3/4 cups
Measurement for gulab jamuns from home made khoa
Khoa Made from 1 litre milk
Soda bi-carbonate – 1/4 tsp
Melted ghee – 2 tsp
Milk – 1 tbsp
Maida or All purpose flour – 1/2 cup
Preparation:
Sugar Syrup:
In a pan, add 3 cups of sugar and 1 3/4 cups of water and heat it on a medium flame. Keep stirring until the sugar is dissolved and it is sticky. Check the syrup by taking a little in between your thumb and forefingers. When you separate your fingers, the syrup must be just sticky. Do not let it reach a single string consistency.
Take the syrup off the pan and transfer it immediately to another wide vessel and let it cool. Some people like adding cardamom powder and lemon juice but we, at home do not add this.
Frying the Gulab Jamuns
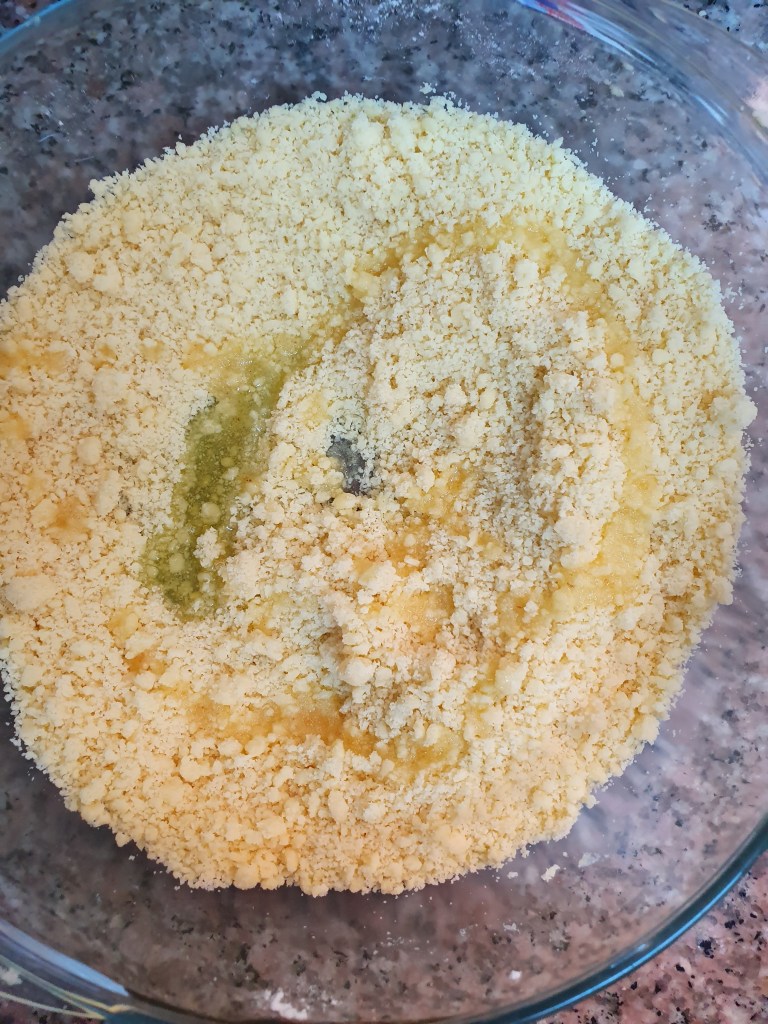
In a bowl, add the mawa and mix it well. Then add the all purpose flour to it and combine it well. Then add the soda-bicarbonate and mix well again. Next, add the ghee and the milk and knead it gently to make a smooth dough. Do not over knead the dough.
Now divide the dough into equal shaped balls. Roll it into smooth crack free balls and keep it on a plate. You should always fry them immediately or the texture may change as soda has been added.
Heat oil in a pan. Drop a small piece of the dough into the hot oil to see if the dough goes down and rises up. If not, the oil is not hot. Wait for a few minutes and drop about 4 to 5 balls at a time and fry to a golden brown colour and take it out. Place them on a plate lined with kitchen tissue. Reduce the flame to minimum and keep flipping the balls to have a uniform brown colour.
The oil should not be too hot as the balls may turn brown but will not get cooked inside. If the oil not hot, a crusty layer will form over the fried jamuns. Make sure you regulate the flame and the heat remains medium low all the time. If it gets too hot, take the pan off the flame and keep it aside and then fry the jamuns.
Add the jamuns to a medium hot syrup or room temperature syrup. Do not add it to a boiling or hot syrup. Let them soak for 5 to 6 hours. Serve them with little syrup in a bowl.
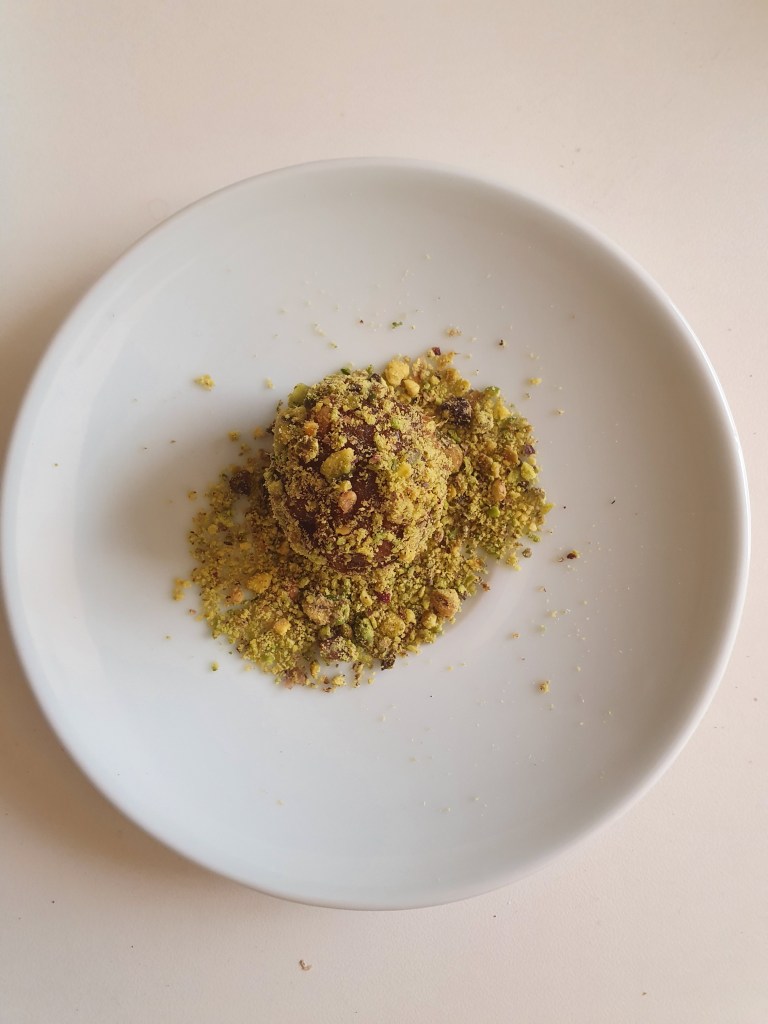
These energy balls are a healthy snack that you can make in a jiffy. Bursting with energy with the right dose of fat, fibre and carbs, these are rich in antioxidants too.
Heat pan and add butter /ghee
Add chopped nuts
Add chopped pitted dates
Saute the dates well
Add the chopped nuts, vanilla essence and cardamom powder
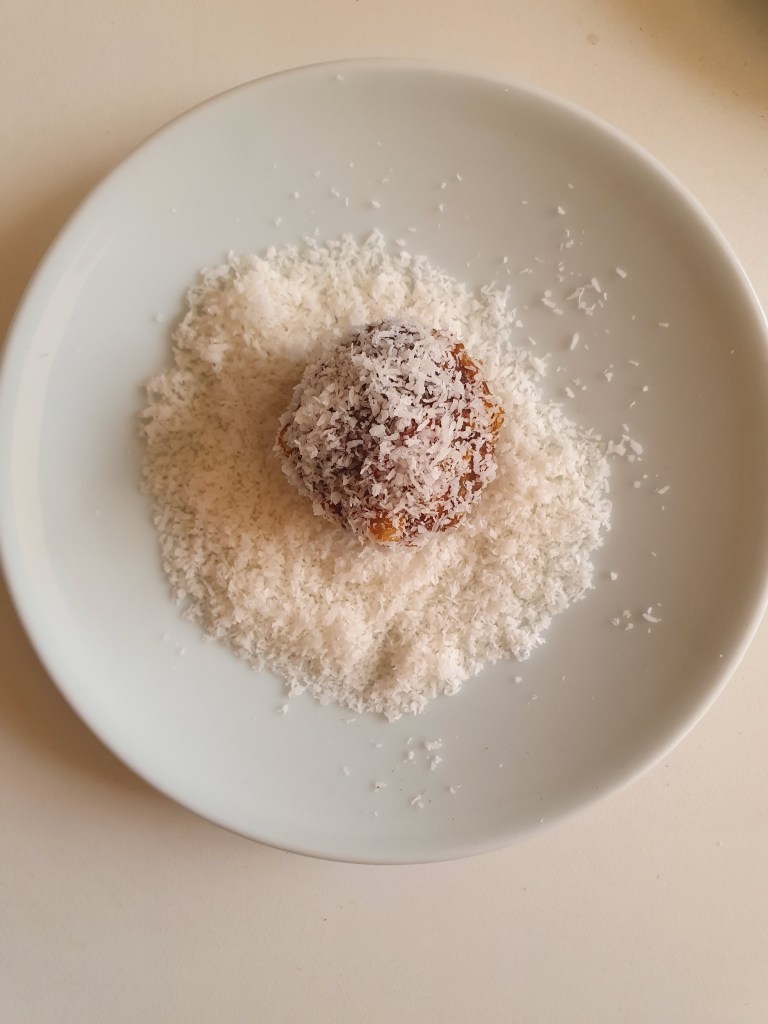
Roll it into balls
Coat it with powdered pistachios
Or coat it with dessicated coconut
Or coat with cocoa powder
Ingredients:
Chopped Nuts (Pecan, Almonds, Walnuts, Cashew) – 1 cup
Dessicated coconut powder – 1/4 cup
Cocoa – 1/4 cup
Powdered pistachois – 1/4 cup
Flax seeds – 3 tbsp
Pitted Dates – 1 1/2 cup
Vanilla essence – 1/4 tsp
Cardamom powder – 1/4 tsp
Ghee or butter – 1 1/2 tsp
Salt – less than 1/4 tsp
Preparation:
In a pan, heat 3/4 tsp butter or ghee. Add the chopped nuts and saute it well. When they turn golden in colour, take it off the pan and keep it aside.
Add 3/4 tsp of ghee or butter and add the chopped pitted dates and saute well. When it starts to get mushy, add the fried nuts, vanilla essence, cardamom powder, salt and stir it well to combine.
Take it off the pan and when it turns slightly cool, roll them into balls. Coat the balls in powdered pistachios or cocoa powder or dried shredded coconut or flax seeds.
Motichur ladoo is a traditional Indian sweet prepared during festivals. Prepared with gram flour and sugar syrup, these sweet boondis melt in the mouth and are prepared with a perforated spoon or a fine strainer with small holes. These are then crushed to a coarse powder to get the perfect result.
Traditionally orange food colouring is added to the ladoos but I here, I have refrained from adding it.
1
2
3
4
5
6
7
8
9
10
11
12
Ingredients:
For Boondi
Besan/Chickpeas Flour – 1 cup Semolina/Rava – 1 tbsp Baking Soda – 1/4 tsp Oil/Ghee for Frying
For Sugar Syrup
Sugar – 1 cup Few Saffron Threads Yellow/Orange Food Color -2 pinches (optional)
Garnishing
Chopped Pistachios Few threads of Saffron
Preparation
For Sugar Syrup
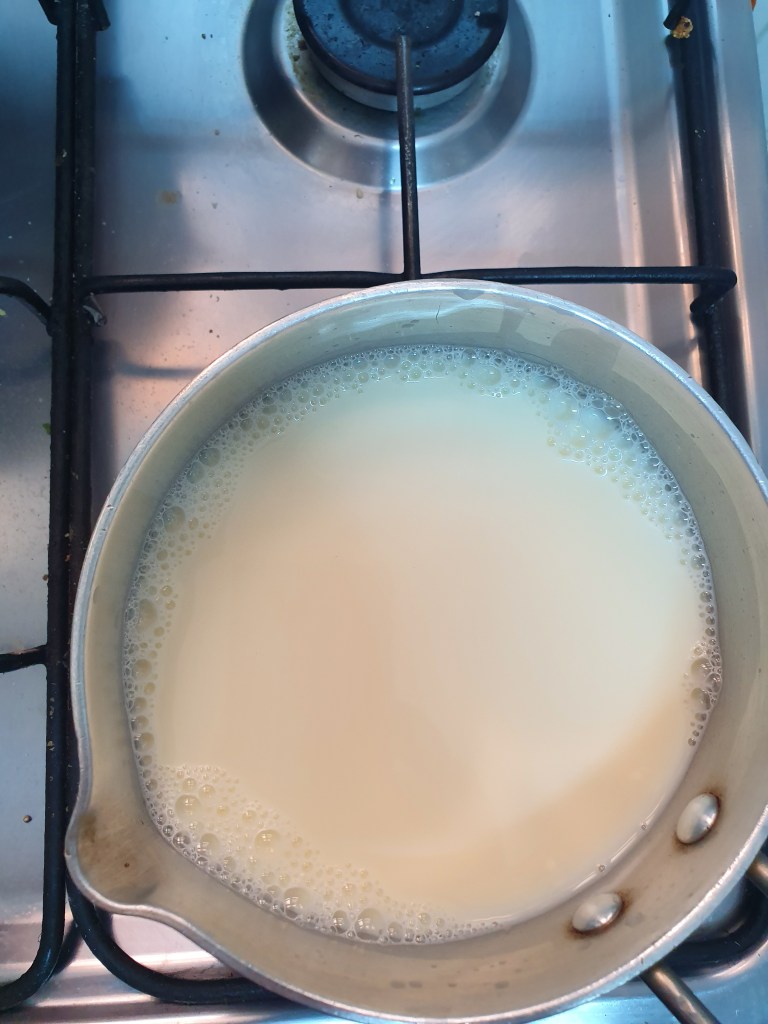
Heat a sauce pan with 1 cup sugar, saffron threads and 1/2 cup water (pic 7). Mix well to dissolve the sugar (pic 9). Stir it until you get a one string consistency (take one drop of syrup between finger and thumb and check one thread consistency) (pic 10).
If you are using food color, add it and mix well. Switch off the flame, add cardamom powder and keep aside.
For Boondi
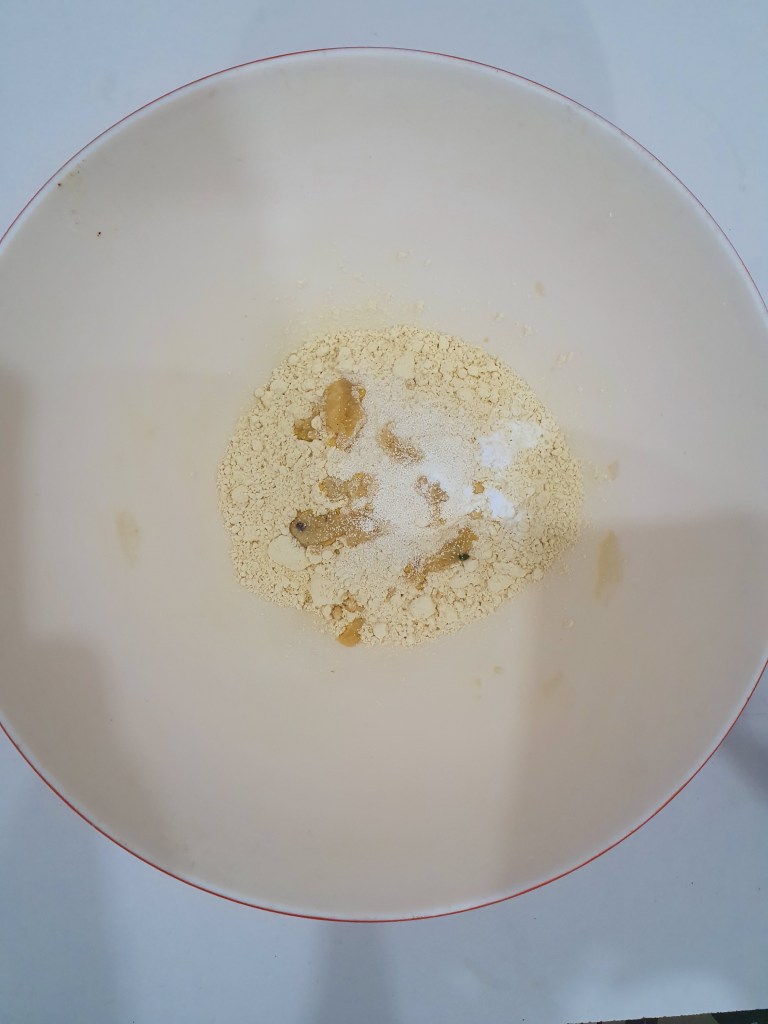
In a bowl, add 1 cup besan/gram flour, rava/semolina and baking soda (pic 1). Mix the ingredients well (pic 2). Then, add 3/4 cup of water and make a batter of pouring consistency. Using a whisk, make sure there are no lumps (pic 3).
In a kadai or pan, heat ghee or oil. When it becomes hot, drop one or two drops of the batter and it should come up steadily. If they dont come up, the oil is not hot enough.
Position a perforated spoon or a small holed sieve above the oil (pic 4). Take a ladle of the besan batter and pour on top of the perforated spoon or the sieve. Slightly shake the spoon or the sieve so that the boondis fall down from the perforattions into the hot oil (pic 5).
Fry the boondis till they become golden. Do not overfy them. Take the boondis out after a minute (pic 6). In case it becomes crisp, the boondis will not be able to absorb the sugar syrup and will not be soft. Use a large slotted spoon to remove the fried boondis. Drain it in a kitchen issue and keep it aside.
If the boondis are small, crush them with your hands. Now, add the fried boondis into the sugar syrup (pic 11). Note that the syrup should be hot while adding the boondis. If it is not hot, you may slightly heat the syrup to make it hot.
Apply some ghee on your palms and shape the motichur ladoos. The mixture will be warm when preparing the ladoos (pic 12). They will become firm on cooling.
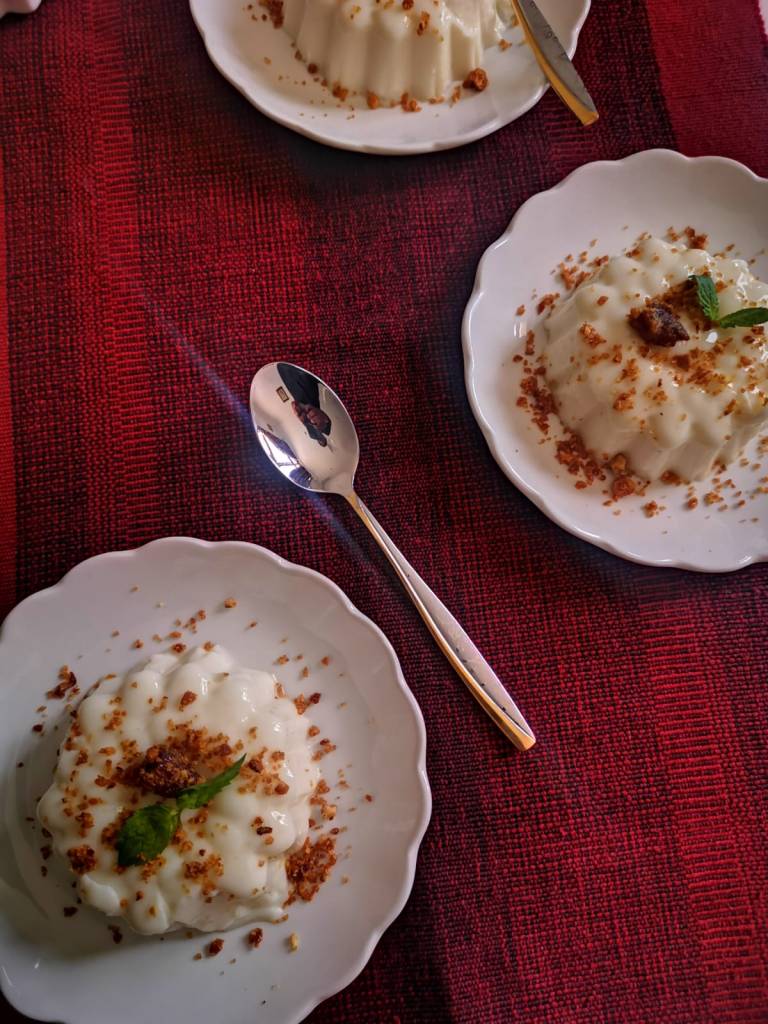
I had a taste of this creamy velvet-rich pudding with caramelized nuts and butter at my neighbour and collegemate Saira Kurian’s home around 15 years back in Qatar and from then on, it has stayed in my recipe book. Easy to make and a crowd stealer, this one is sure to impress.
Makes 10 individual servings
Soak 10 gms china grass/agar agar in water
Boil milk, sugar,condensed milk and 1 cup water
The thick cream sachet that i used
Thick cream – 1/2 cup
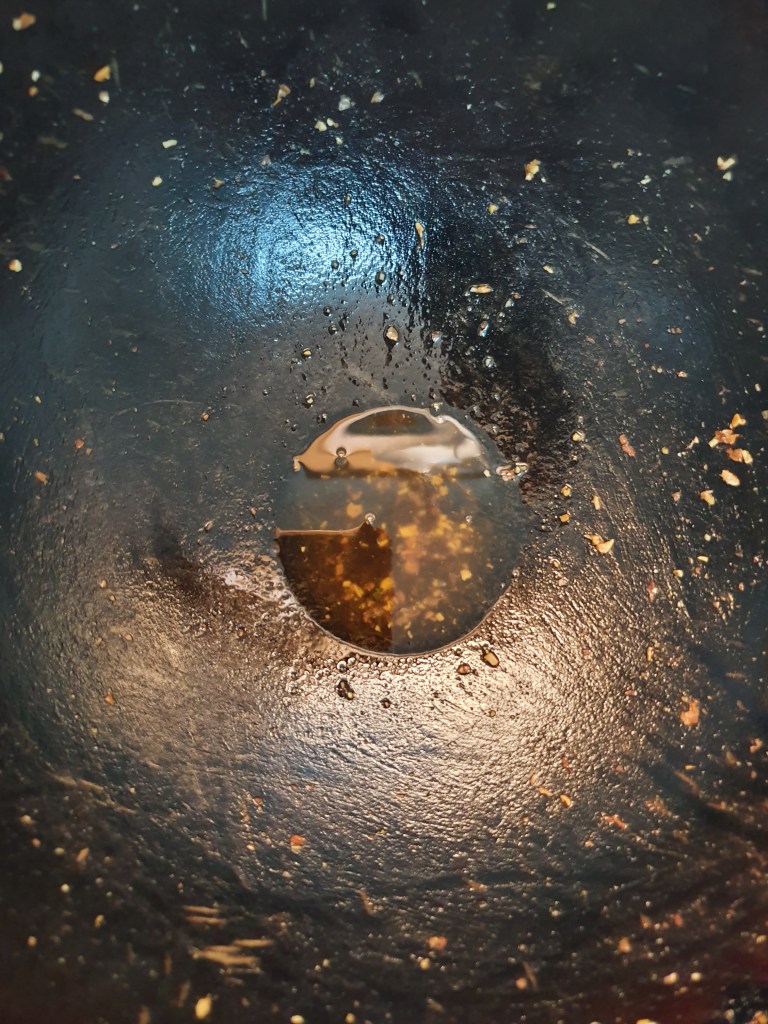
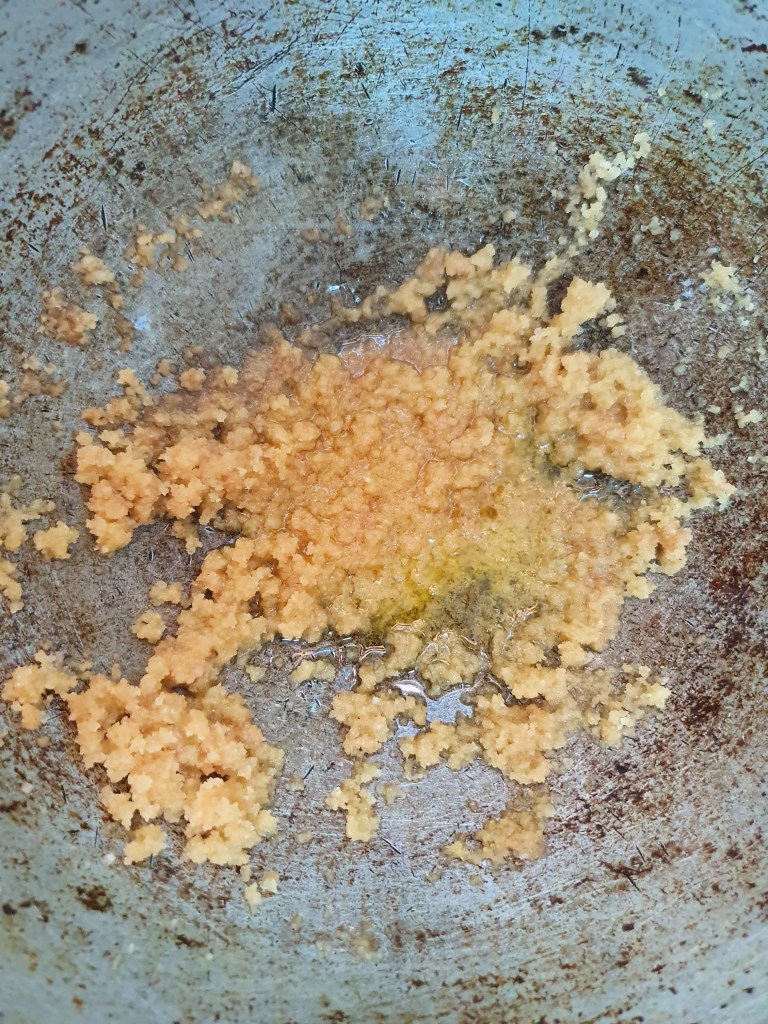
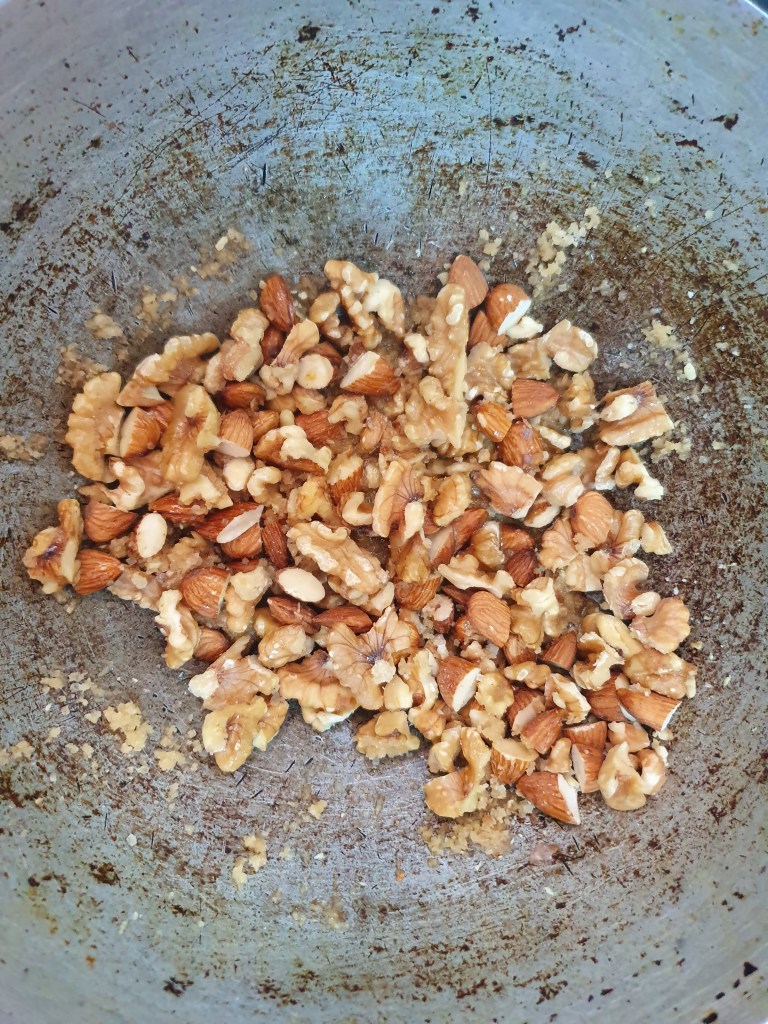
In a hot pan, add sugar and butter.
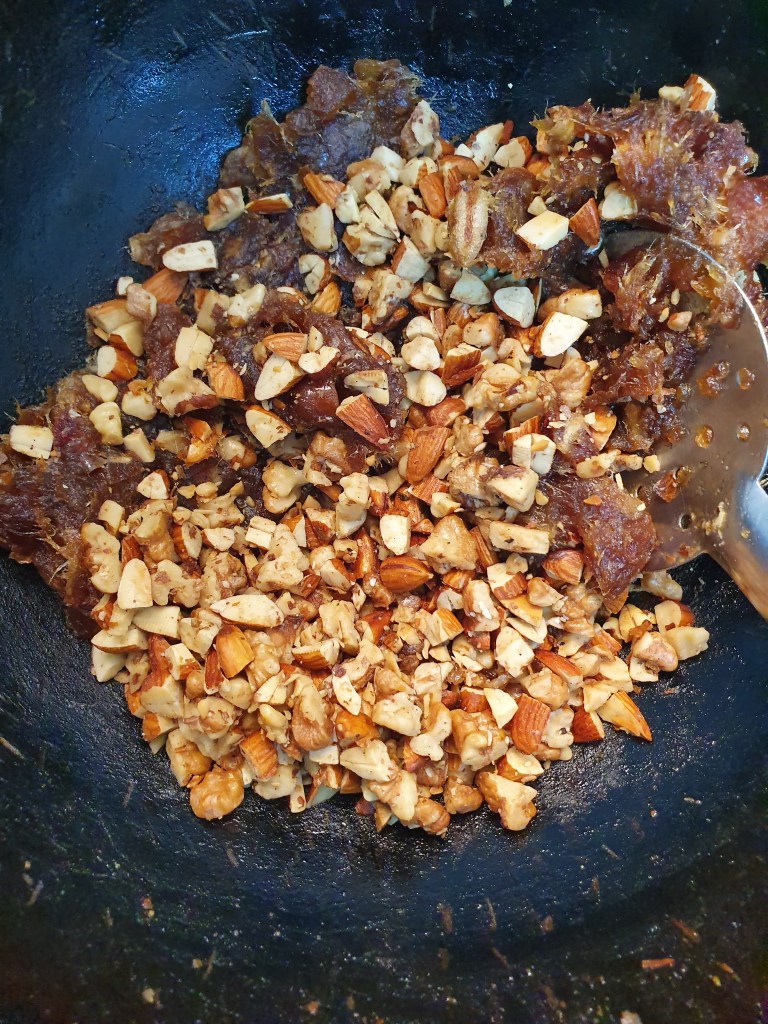
When it starts to become slightly brown in colour, add the baking powder and nuts
Once it is brown and starts sticking to the nuts, remove and spread on a plate.
Mix condensed milk, water, milk and sugar in a pan and heat it. Stir until the sugar is dissolved and take it off just before it starts to boil.
Wash china grass, cut it into small pieces and soak it in a bowl of water (1 1/2 cups). Next, take a small pan and on a low flame, melt the china grass until it is completely dissolved. Strain it and add it to the milk mixture. Add vanilla essence to it.
Place the 1/2 cup of thick cream in another bowl and add a ladle or 1/2 cup of the (milk and china grass) mixture to the thick cream and stir it well. When it is combined well with the thick cream, pour it into the remaining (milk and china grass mixture) and stir it well. Do not boil or place it on fire.
It is ready to be poured into individual ramekins or pudding moulds/bowl. Keep it in the refrigerator for 1 -2 hr and it will set. Top it with caramelised nuts and serve it chilled.
To serve, pass a butter knife around the moulds to loosen the pudding from around the sides. Invert the pudding onto a serving plate. Top it with coarsely powdered nut brittles/caramelised nuts.
To make the caramelized nuts:
Heat a pan. Reduce the flame and add butter. When it melts, add the sugar and baking powder and keep stirring until it becomes slightly brown in colour. Now, add in the chopped nuts and stir it again for another 3 -4 minutes. When the sugar and butter start to coat the nuts, switch off the flame and spread it on a plate and let it cool for 30 mnutes. The nutty brittle will be ready. Coarsely powder it when it becomes cool.
Note: If you are running short of time, you may chose to skip caramelizing the nuts and use store bought chikkis. You can also use powdered panakalkandu (Powdered palm sugar) which is equally awesome and sprinkle over the pudding.
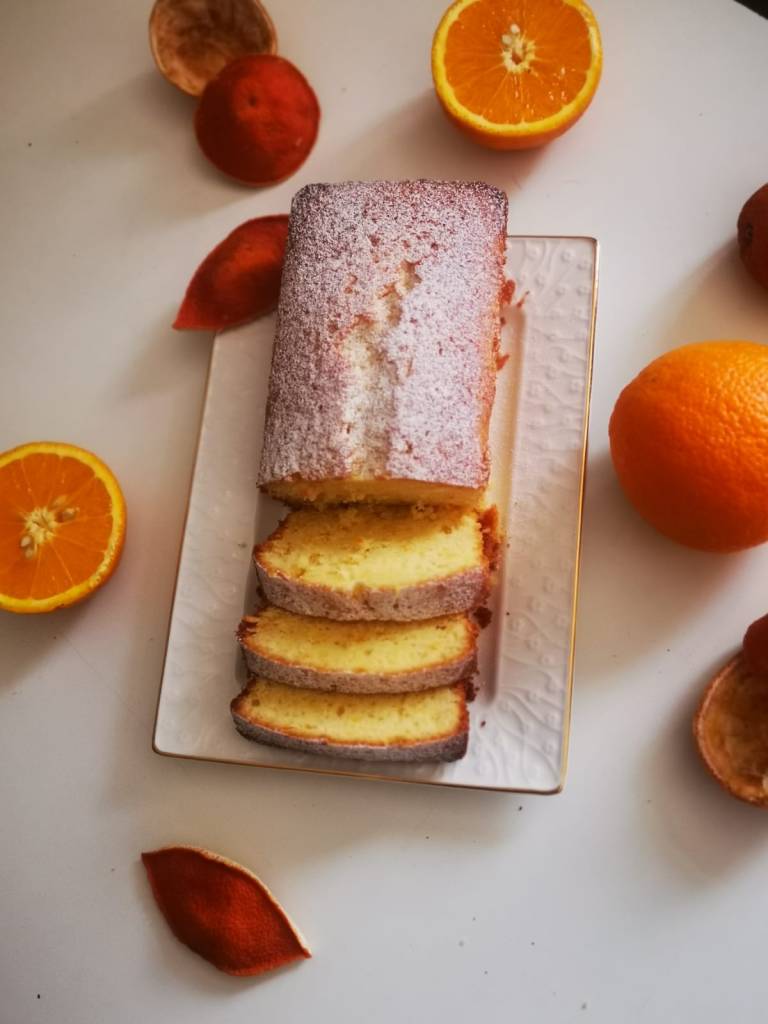
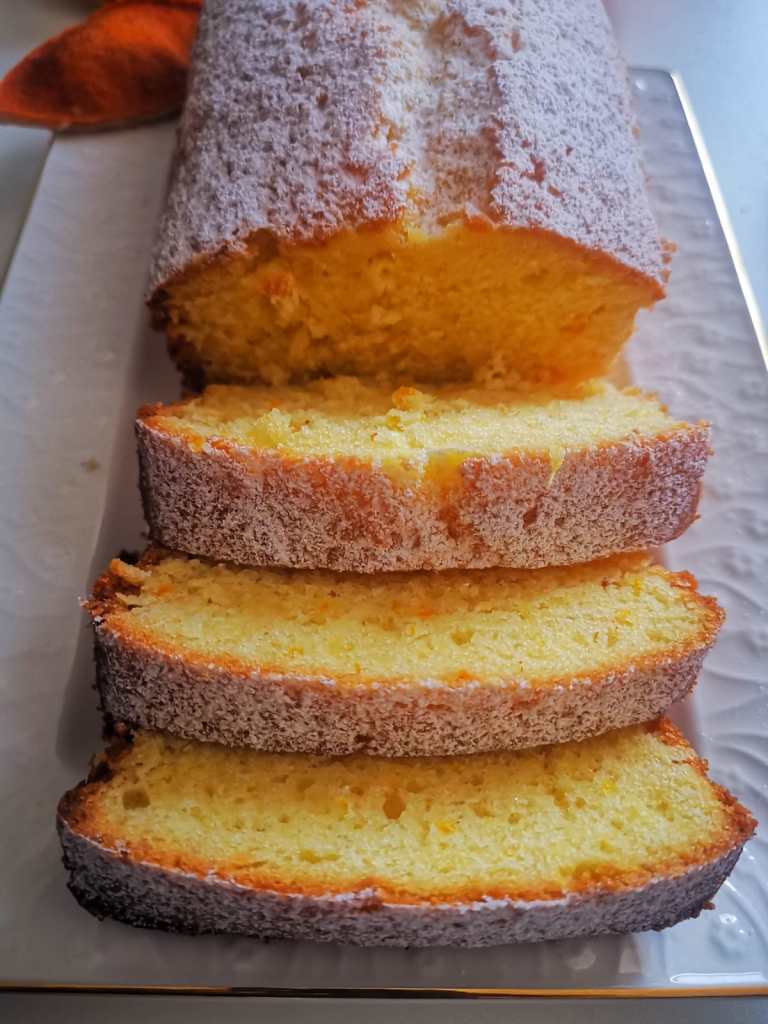
My sweet tooth began at an early age. I remember growing up, eating this cake which mom made so often during my school days. She always used to make it with butter but here, I have substituted it with oil for obvious health reasons. Nevertheless, this cake bursts with citrus flavours and tastes just delicious.
Yields 2 loaves
Ingredients:
All purpose flour – 2 1/2 cups
Eggs – 4 large
Baking powder – 2 1/2 tsp
Sunflower or Canola oil – 1 cup
Freshly squeezed orange juice – 1 1/4 cups
Granulated sugar – 1 1/2 cups
Orange zest of 3 oranges
Vanilla essence – 1 tsp
Preparation:
Preheat oven to 350 degree F or 180 degree C. Grease two loaf pans (8 1/2 inch x 4 1/2 inch pans).
In a mixing bowl, whisk flour and baking powder and keep aside.
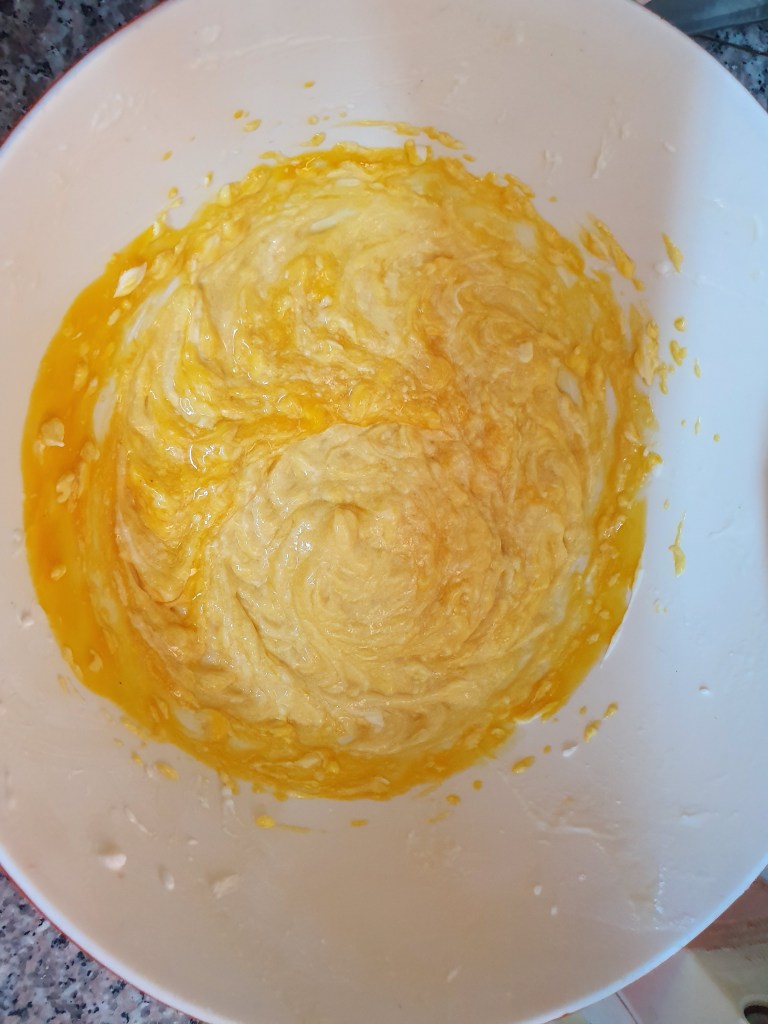
In another medium mixing bowl, whisk together eggs and sugar on high speed using a hand held electric mixer for 3 -4 minutes until they become fluffy. Then, reduce the speed to low and keep adding oil slowly until well combined. Now add the orange juice, orange zest and vanilla extract and keep whisking until it is well combined.
Next, add the flour slowly keeping the speed of the beater on low or use a spatula to mix it well. Do not overmix it as the cake may fall flat while baking.
Then, pour the batter into the two pans for 45-50 minutes until a toothpick inserted into it comes out clean. Remove the cake from the oven and let it cool completely.
Dust it with powdered sugar and serve.
Note: I always used to grate the oranges to take the zest but a tip from my friend Cini was a great time saver. She asked me to peel the orange skins using a peeler and chop it fine with a knife or grind it once in the mixer to a coarse texture. Try and let me know if this works for you too.
A traditional Indian dessert from Western India. A flavourful yogurt based dessert enhanced with the flavours of mango and cardamom, this is served with poori in Maharashtrain and Gujarati weddings. An easy no cook dessert with the goodness of mango.
Ingredients:
Ripe Mangoes – 2 (Alphonso or Badami preferred)
Cardamom powder – 3/4 tsp
Powdered Sugar – 1/4 cup or as required
Yogurt – 1/2 cup
Milk – 1/4 cup
Sliced almonds – 4 or 5 for garnish
Pounded pistachois – 1 tsp
Saffron – 3 strands + 3 strands for garnish
Preparation:
Take a muslin cloth and place the yogurt in it for an hour to allow the whey to drain out.
Deskin the mangoes and remove the pulp.
In a blender, add the mango pulp, powdered sugar, cardamom, yogurt, milk and pulse until it becomes smooth and creamy.
You can add saffron soaked in 1 tbsp warm milk to it (optional).
Garnish it with saffron strands, almonds and pounded pistachois and serve in a glass or bowl.
A no-bake layered dessert that you can never get enough of. This will please even the most discriminating palate. So, come and celebrate summer with this truly delicious dessert.
Ingredients:
Whipped cream or Dream Whip or Cool Whip – 1 packet
Cream cheese – 200 gms
Digestive biscuits or Plain Oreos – 200 gms
Mango puree – 2 cups
Powdered Sugar – 1/4 cup (to be adjusted depending on the sweetness of the mangoes)
Mangoes cubed – 1/2 cup
Thick yogurt – 1/2 cup
Lime juice – 1/2 tsp
Preparation:
Crush the digestive biscuits by hand and make sure that you do not pulse them in a mixie. Coarsely crush them and keep it aside.
Cream cheese:
Place the cream cheese in a bowl. Add powdered sugar to it and yogurt and mix it well using a whisk or an electric hand-held mixer. Then, add the 1 cup mango puree and mix well again. Keep it aside.
Whipped Cream or Dream Whip:
In another mixing bowl, prepare whipped cream as per the instructions on the packet (I added 1/2 cup of cold milk to one sachet of whip mix powder and beat it well for about 5 minutes until stiff peaks form). You need not add sugar to the whipped cream or dream whip/cool whip.
Mango Puree:
If you are using fresh mangoes, take the flesh off 2 mangoes and puree them in a pulser to a smooth paste. If you are using a store bought canned mango puree, take 1 cup of it and add lime juice and blend until smooth.
Assembly:
Take a loaf pan. You need not grease the pan. Add a layer of the crushed biscuits. Follow it up with a layer of cream cheese and then a layer of the mango puree. Next, add a layer of the whipped cream and a layer of the chopped and diced mangoes.
Repeat the layering again. Once done, wrap it with a cling wrap tightly and freeze it for 24 hours. Top it with crushed pistachio nuts and cut it in squares and serve.